SwiftUI Automatic Screen Tagging
WarningWarning
This feature is only available from SDK plugin v1.0.7 onwards
Automatic Screen Tagging for SwiftUI (Available from SDK plugin v1.0.7)
SwiftUI screens are created using a declarative approach, and views are mapped internally into private views, making it difficult to access them for screen tagging purposes. However, we have introduced a new feature in our SDK v1.0.7 that enables automatic screen tagging for SwiftUI apps.
With the new automatic screen tagging feature for SwiftUI, you can easily tag your screens in the UXCam dashboard without having to manually tag each screen. This feature is available from SDK v1.0.7 and works by automatically capturing the name of the views that use the navigationTitle or tabItem method.
How does it work?
In SwiftUI, screens and views are the same, and multiple screens can be presented from one View class. With automatic screen tagging, if the views are using the navigationTitle or tabItem method on their class, the name is used as the screen name in the UXCam dashboard. This means that even if you haven't used [uxcamTagScreenName](https://developer.uxcam.com/docs/tag-of-screens#tag-screen-name), if there is a name in the navigation bar or tab bar, it will be automatically captured as a screen name in the dashboard.
To achieve this, please enable the configuration option configuration.enableAutomaticScreenNameTagging = true when setting up UXCam to start
init(){
     UXCamCore.optIntoSchematicRecordings()
     let config = Configuration(appKey: "YOUR APP KEY")
     config.enableAutomaticScreenNameTagging = true
     UXCamSwiftUI.start(with: config)
}
Manual tagging alternative
If you want to tag screens in the UXCam dashboard without showing the title in the app, you can still use the uxcamTagScreenName method.
Example of the manual approach
struct NavigationItem: Identifiable, Hashable {
    var id = UUID()
    var title: String
    var icon: String
}

var navigationItems = [
    NavigationItem(title: "Compass App", icon: "safari", menu: .compass),
    NavigationItem(title: "3D Card", icon: "lanyardcard", menu: .card),
    NavigationItem(title: "Radial Layout", icon: "clock", menu: .radial),
]

struct ContentView: View {
  var body: some View {
        NavigationStack {
            List(navigationItems) { item in
                NavigationLink(value: item) {
                    Label(item.title, systemImage: item.icon)
                                    .foregroundColor(.primary)
                }
            }
            .navigationTitle("SwiftUI Apps")
            .navigationDestination(for: NavigationItem.self) { item in
                Label(item.title, systemImage: item.icon)
                    .uxcamTagScreenName(item.title) // tagging of all screens from one place
            }
        }
  }
}
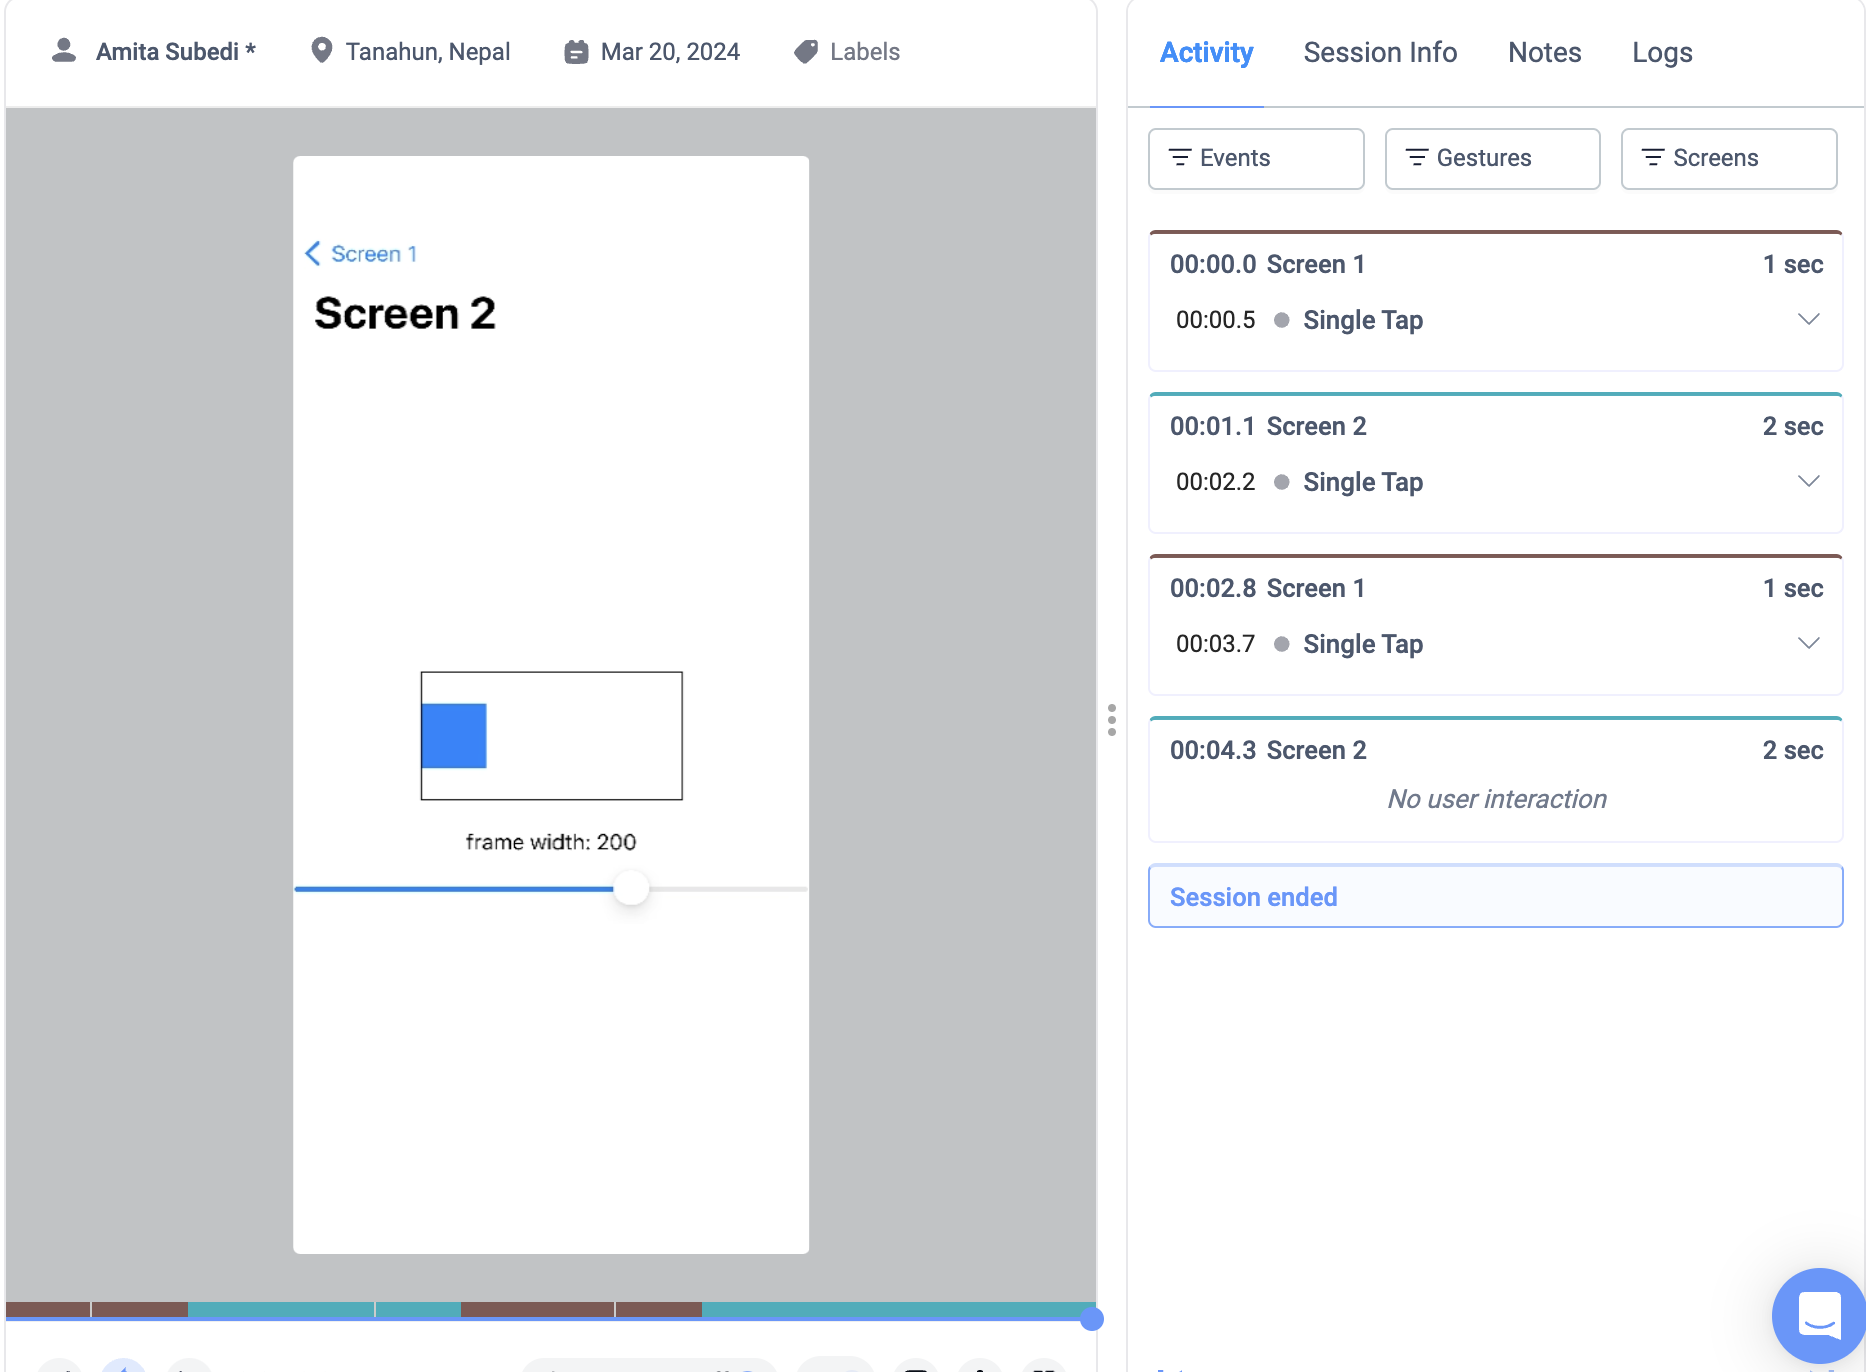
Automatic Screen Tagging for SwiftUI on v1.0.7 without manually tagging screens
Updated 10 months ago
