Mask PII & Sensitive Content
Hide sensitive data and PII from session recordings in your iOS app
Good privacy practices are non‑negotiable—especially under GDPR, CCPA and Apple’s App Store policies. UXCam lets you decide what never gets recorded at three levels: text fields, views, or entire screens.
UIKit vs SwiftUI The APIs below come in both flavours:UXCamfor UIKit andUXCamSwiftUIhelpers built onUXCamCore.
What’s hidden by default?
| Platform | Occluded out of the box |
|---|---|
| UIKit | UITextField with UITextContentType of password, creditCardNumber, newPassword, oneTimeCode |
| SwiftUI | Any TextField or SecureField wrapped in .uxcamOcclude() |
No code required—these never reach UXCam servers.
Dashboard‑first rules (zero‑code)
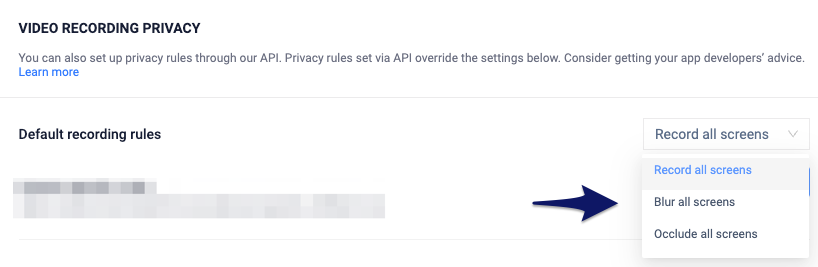
- Settings → Video Recording Privacy in your UXCam dashboard.
- Choose Record • Occlude • Blur globally or per screen.
- (Optional) Blur radius selector and Record gestures toggle.
- Save → record a test session to verify.
Selecting the Blur option will also enable you to select the blur radius once applied.
Priority ladder
Screen‑specific Dashboard rule → Global Dashboard rule → SDK overlay/blur → SDK text‑field occlusion.
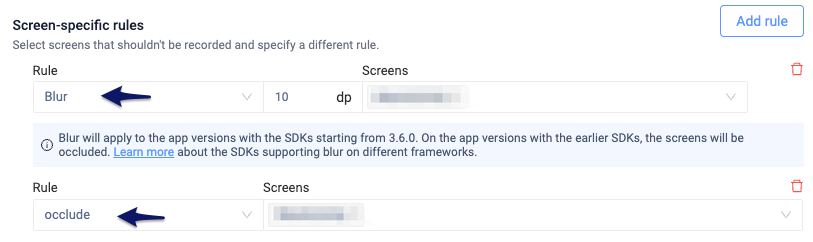
You can add screen specific rules with different occlusion types

You can also choose to occlude all text input fields on one or multiple screens.
One‑liner occlusion APIs
Overlay an entire screen
let yellow = UXCamOverlaySetting(color: .systemYellow)
UXCam.applyOcclusion(yellow) // UIKit
// SwiftUI: UXCamCore.applyOcclusion(yellow)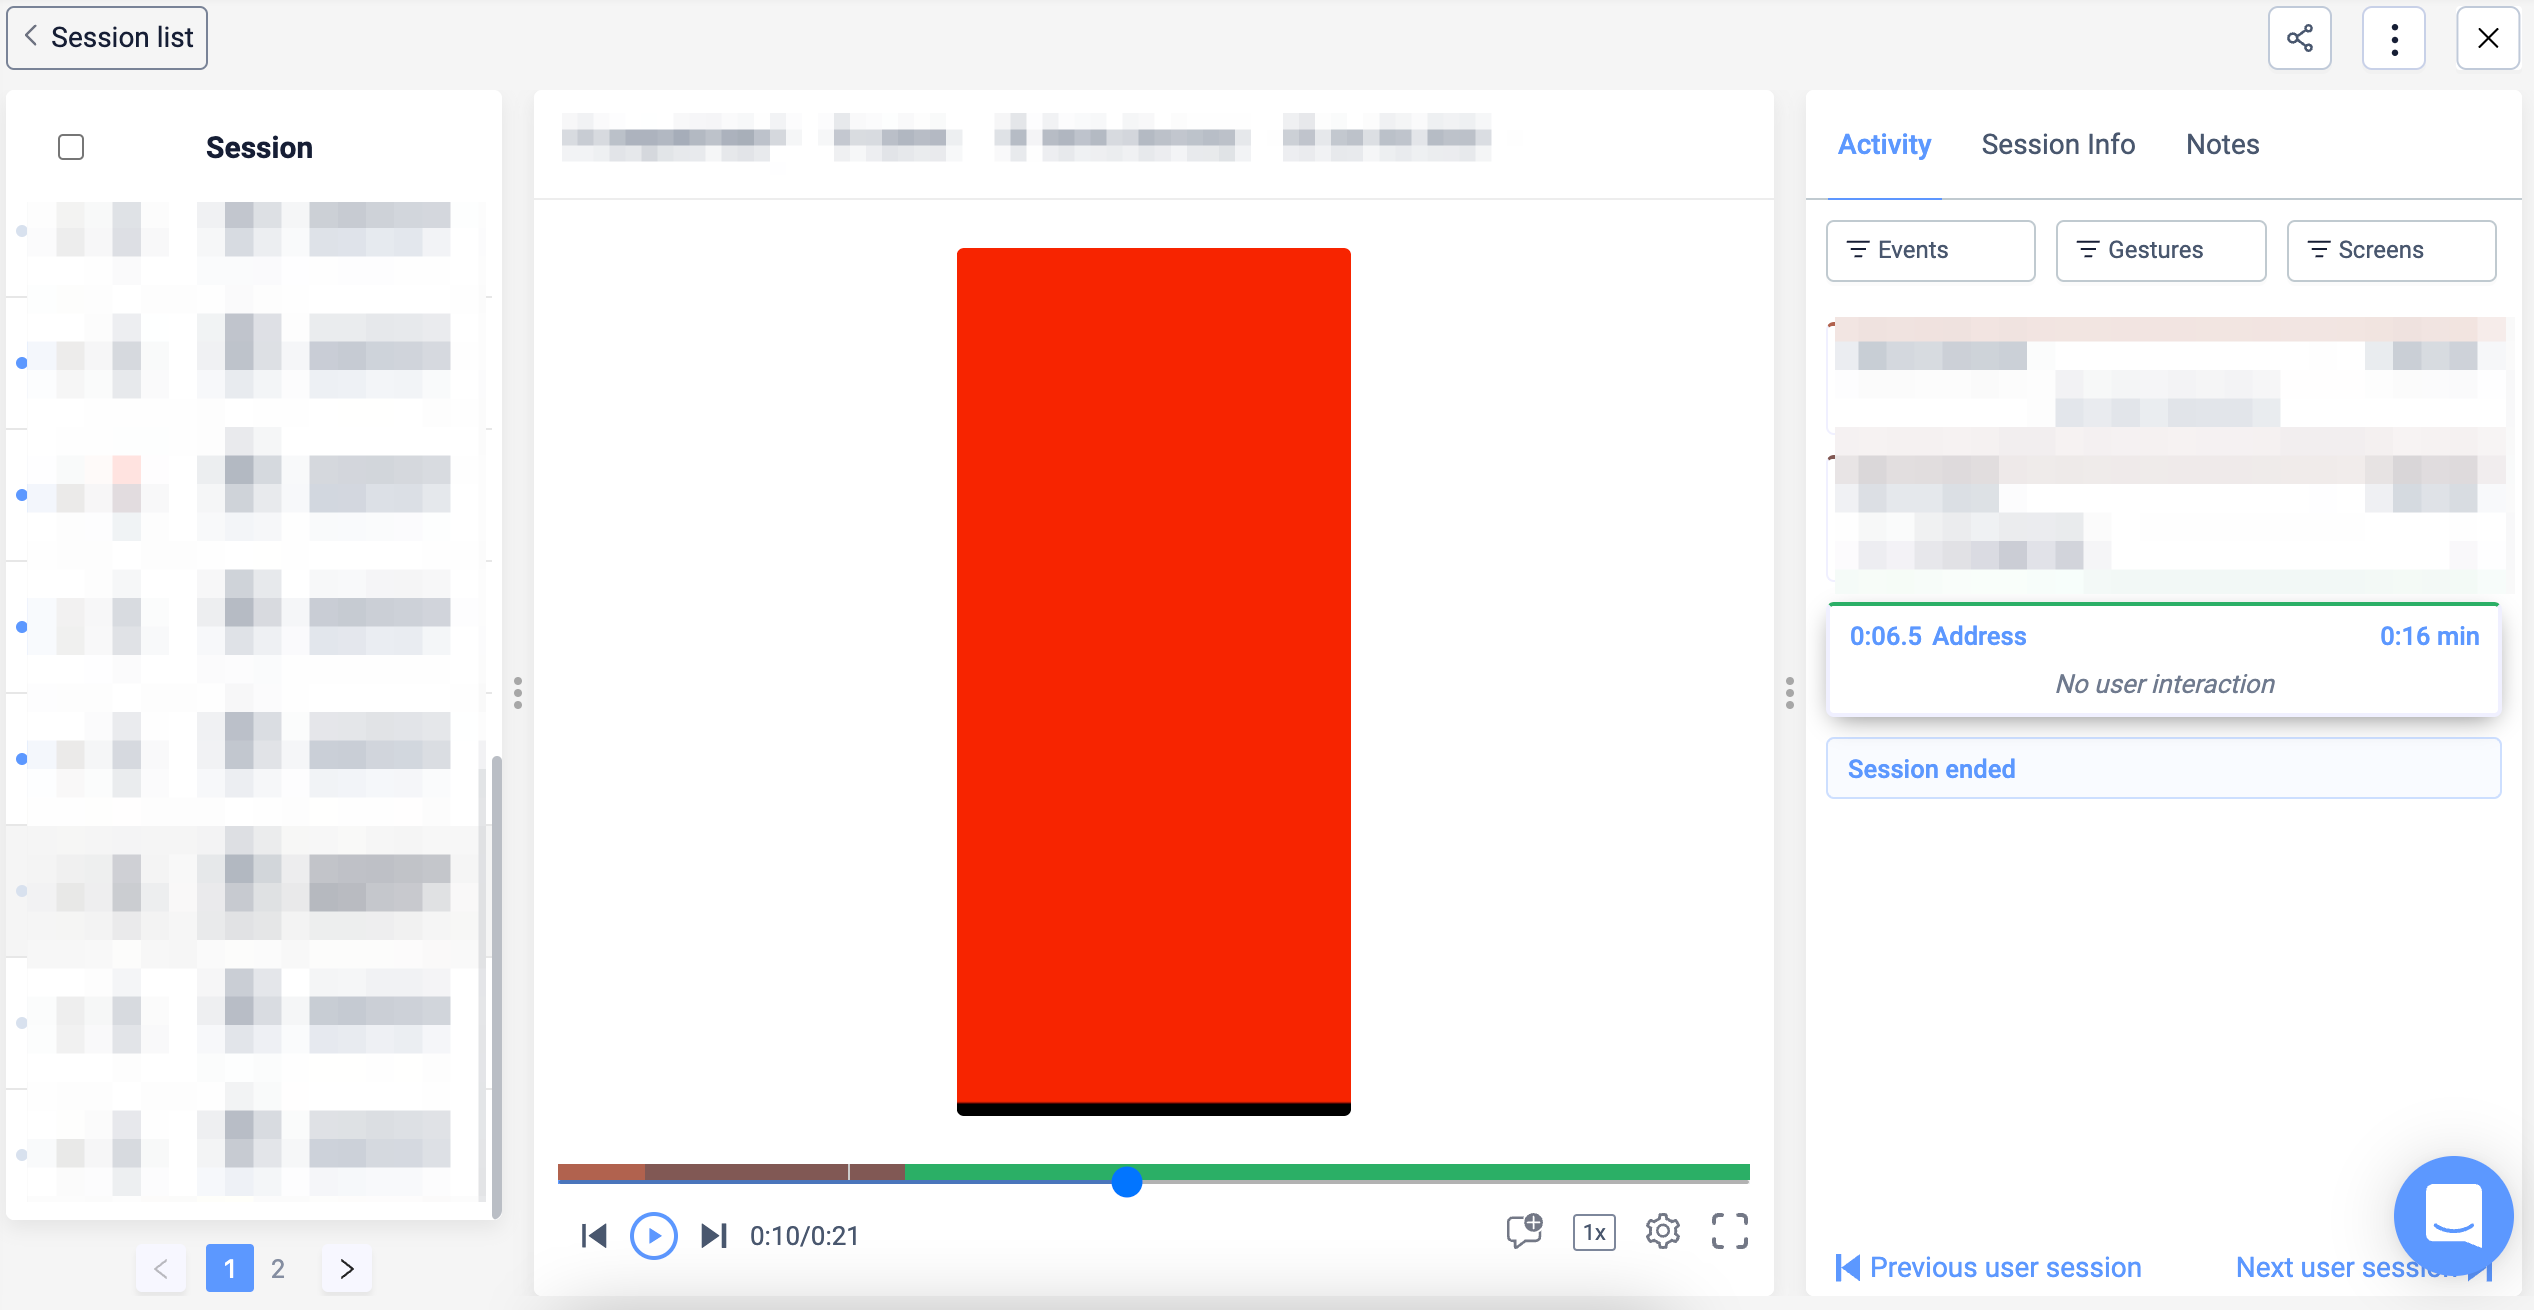
You'll see the desired screen completely hidden while your users navigate trough it.
Blur with custom radius
let blur = UXCamBlurSetting(radius: 6, hideGestures: false)
UXCam.applyOcclusion(blur)
You'll see the chosen screens with a blur applied on top
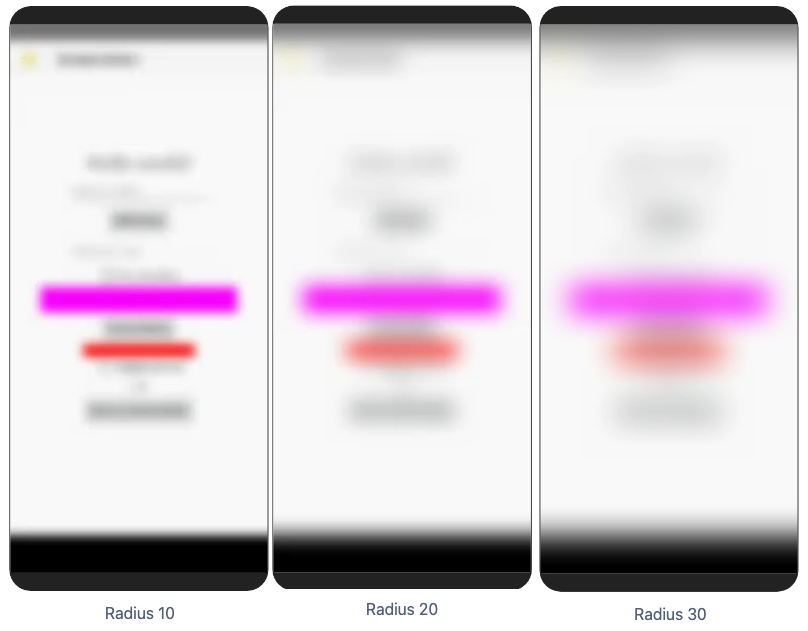
Blur radios strength examples
Hide all text inputs
UXCam.applyOcclusion(UXCamOccludeAllTextFields())Hide a single sensitive view
passwordField.uxcamOcclude()                 // SwiftUI
UXCam.occludeSensitiveView(cardNumberView)   // UIKit
Remove occlusion
UXCam.removeOcclusion()            // everything
UXCam.removeOcclusion(of: .blur)   // just blurs
Apply at config time (recommended)
let blur = UXCamBlurSetting(radius: 5)
let occlusion = UXCamOcclusion()
occlusion.apply(blur, screens: ["CheckoutViewController"]) // or SwiftUI tag

let config = UXCamConfiguration(appKey: key)
config.occlusion = occlusion
UXCam.start(with: config)
This keeps all rules in one place and avoids race conditions.
Sample SwiftUI snippet
init() {
  UXCamCore.optIntoVideoRecordings()
  let cfg = Configuration(appKey: key)
  cfg.enableAutomaticScreenNameTagging = true
  UXCamSwiftUI.start(with: cfg)
}

var body: some View {
  SecureField("Password", text: $pwd)
     .uxcamOcclude(blockGestures: true) // hide & block gestures
}
Verification checklist
- Record a debug session through sensitive flows.
- Play it back, passwords & cards must be red‑boxed or blurred.
- Use the “Record gestures” toggle if taps should not be shown.
Troubleshooting
| Issue | Cause | Fix |
|---|---|---|
| Overlay shows but gestures still visible | hideGestures defaulted to false | Set hideGestures = true |
| Blur only on some devices | radius too low on @3x screens | Use ≥ 5 or switch to overlay |
| Text inputs still visible | Custom UITextField subclass | Call uxcamOcclude() manually |
| WebView leaks card numbers | Bridge not injected | See Sensitive Data in WebViews guide |
Updated 9 days ago
What's Next? ...
Excellent! You can record some test sessions and once you're finalised with occlusion, we can move onto custom events and user properties!